Last time we saw how to set up the PICkit3 with MPLABX and get a very simple program running. The program didn’t actually do anything though! So this time we are going to add an LED to the breadboard and make the LED blink on and off.
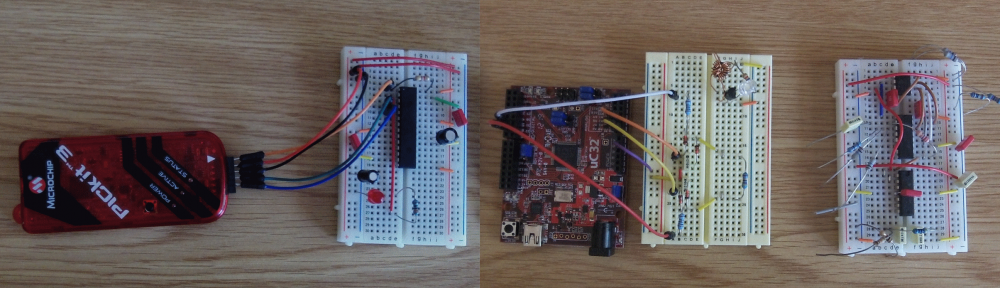
The first thing we need to do is add an LED to the board:

The LED is connected via a 330 ohm resistor from pin 2 (RA0) to GND.
We then need to modify our code. We are going to modify main function in main.c as follows:
int main(int argc, char** argv)
{
    TRISA = 0xFFFE; // Set RA0 pin as output

    // Loop to flash an LED on RA0 (pin 2)
    while(1)
    {
        PORTASET = 1;          // Set RA0 high
        // Insert some delay
        int i = 100000;
        while(i--);

        PORTACLR = 0;          // Set RA0 low
        // Insert some delay
        i = 100000;
        while(i--);
    }

    return (EXIT_SUCCESS);
}
For this to work you need to add the following include at the top of the file:
#include <p32xxxx.h>
Now when we run the project from the Run menu, the LED should blink on and off.
Note:
The delay loop is bad code. I’m not proud of that, and I wouldn’t suggest using it in your projects! I’ll show you how to do it properly in a future post.